
How to auto-sync trades from Dhan to TradesViz trading journal?
Quick Start
To auto-sync your Dhan account, visit https://tradesviz.com/import/.
Use the first dropdown to choose your trading account, the second dropdown to choose Dhan,
then switch to the Auto-Sync tab and follow the steps below.
You can also open Import/Export from your profile menu in the top-right corner.
Auto-Sync Setup Instructions
Dhan is now the first Indian broker to have 100% auto-import integration with TradesViz. We have many brokers from US and other countries and we are also focusing on India to bring seamless journaling capabilities to traders trading in NSE and BSE.
We will now explore how to pair your TradesViz account with your Dhan account.
This post assumes that you have read the basics about auto importing in TradesViz.
Once you select your trading account and broker as "Dhan" on the trade auto-import page, a popup box will appear when you click on the "Connect account" button.
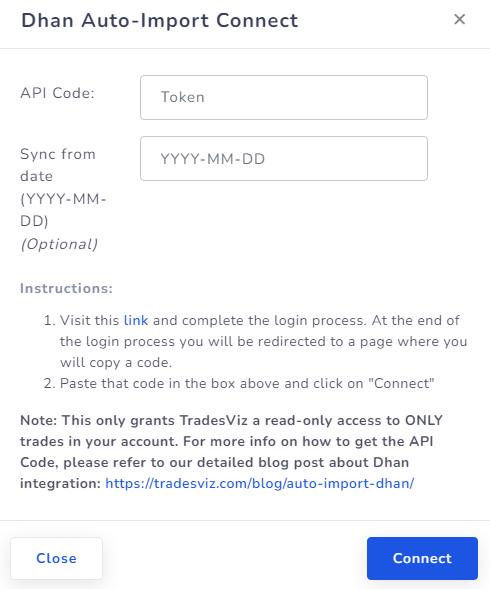
Here are the steps you need to follow:
- Click on the link in the instructions in the popup box shown in the picture above.
- This will redirect you to a secure Dhan webpage where you need to enter your credentials to authenticate that you are the user of the Dhan account. Note that we have no access to any information in the subsequent pages after you click on the link in the instructions - all actions are done via Dhan's secure pages. You can check the URL in the browser to verify this.
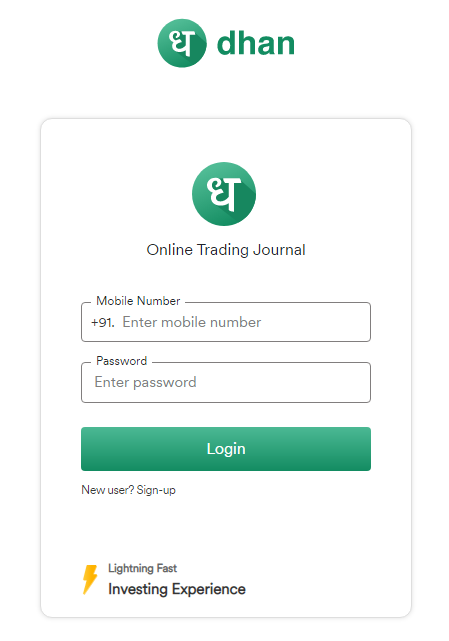
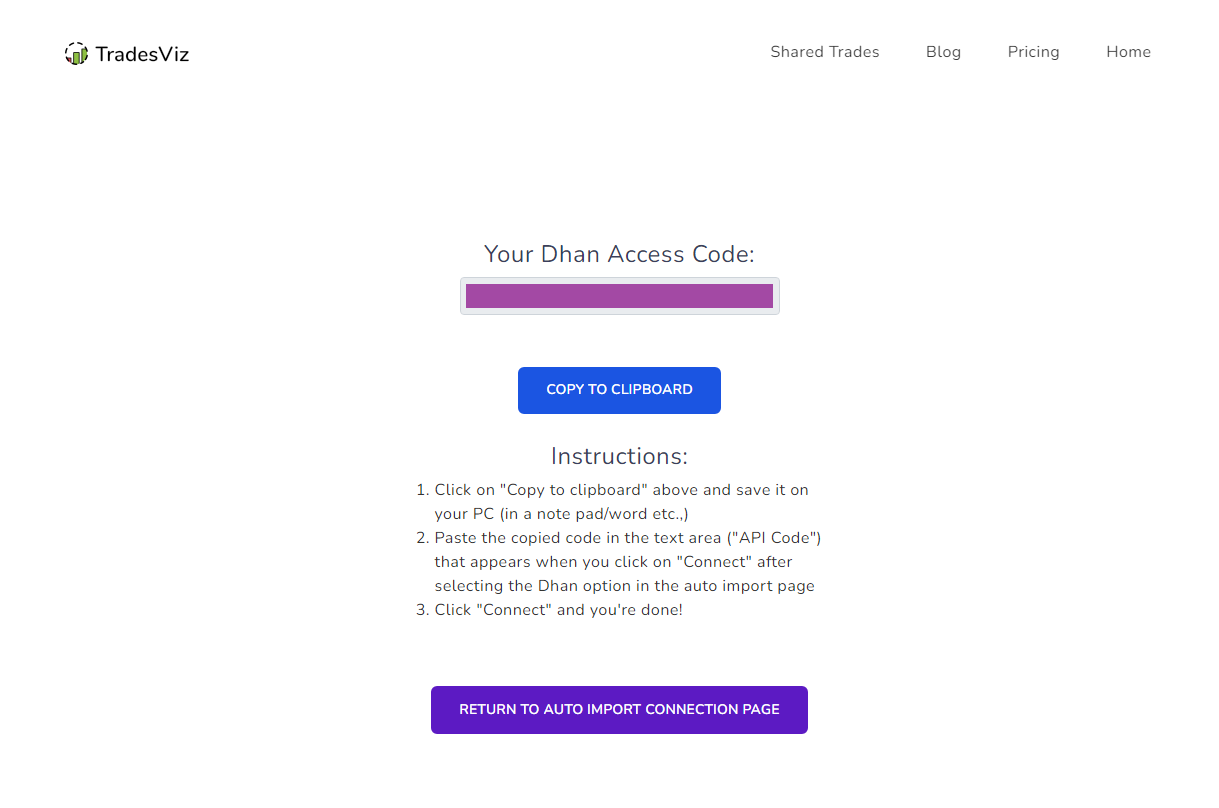
- Once you complete the authentication flow, you will be redirected to a TradesViz.com page where you will have to copy a code and paste it into the popup box shown as the first image in this blog post.
- Once you return to the tradesviz.com's import page, click on the "Auto-import trades" tab, follow the same instructions of selecting the trading account and brokerage platform (Dhan) and now paste the code in the text field.
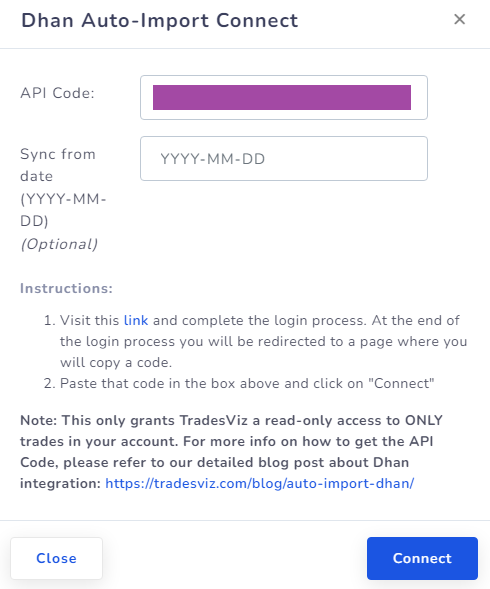
That's it! You are now connected to Dhan and your trades will be auto-synced every 24 hrs! You can change the advanced import settings and turn on or off the auto-sync by clicking the auto-import settings on the same import page.
If you have any questions regarding your connections, please contact us at support@tradesviz.com!
Important Notes About Auto-Sync
- Auto-sync only brings in recent / new trades going forward. For older history, first do a one-time
manual file import from the Upload File tab, then enable auto-sync.
- TradesViz uses read-only access wherever the broker supports it. We never request trading,
transfer, or withdrawal permissions.
- Some brokers (OAuth-based) expire connections periodically and require you to reconnect.
Troubleshooting
- If the connection fails, double-check API keys / OAuth login and that required permissions are granted.
- Make sure the trading account in TradesViz matches the asset class (stocks vs. futures vs. crypto).
- If sync stops bringing in new trades, reconnect the broker from the Auto-Sync connections page.
Need Help?
Email support@tradesviz.com with your broker, the trading account name in
TradesViz, and a screenshot of the error.
If your broker is not yet supported for auto-sync, see our
supported brokers list or contact support to request it.
FAQ
Why are old trades missing after I connected auto-sync?
Auto-sync only fetches recent history. Import a historical CSV/Excel file first from the Upload File
tab, then enable auto-sync for new trades going forward.
How often does auto-sync run?
Connections are synced automatically on a recurring schedule (typically daily). You can also trigger a
manual sync from the Auto-Sync connections page.
Is auto-sync safe? Can TradesViz trade on my account?
No. TradesViz requests read-only access whenever the broker supports it. We do not place trades or move
funds. For OAuth-based brokers, the consent screen will show exactly which scopes are granted.
Full blog post
You can also read the original walkthrough on our blog: Dhan auto-sync guide.
Updated on: 17/07/2026
Thank you!